How to Jumpstart a Chow-to-jumpstart-a-carar
If you’ve ever had your car battery die on you, you know the feeling. You feel that brief moment of panic when you turn the key in the ignition and nothing happens; then and there you know you have some work to do. Previously, we’ve covered what you should always keep in your car in the event of a breakdown which, of course, includes jumper cables.
So grab your cables and let’s get started!
1) Find a Willing Participant to Give You a Jump
In order to get a successful jumpstart, you’ll need another working car battery. This can be done with either a portable jump battery, aka a jump box, or another running car. If you’re in public, see if you can find a good Samaritan around you who is willing to help. If you’re stranded or nobody is willing to help out, call somebody you know to come meet you with their car.
2) Park the Cars Properly
Traditionally, car batteries are stored under the hood, so you’ll need to park the cars front-to-front or closely next to each other. This is just so the cables can reach each battery. However, keep in mind that there are several companies that now manufacture their vehicles with the battery in the trunk. Be sure you know where your battery is so the assisting car can park accordingly.
3) Turn Both Cars Off
Once the vehicles are in position, put them in Park and turn off both engines.
4) Open Hood and Attach Cables
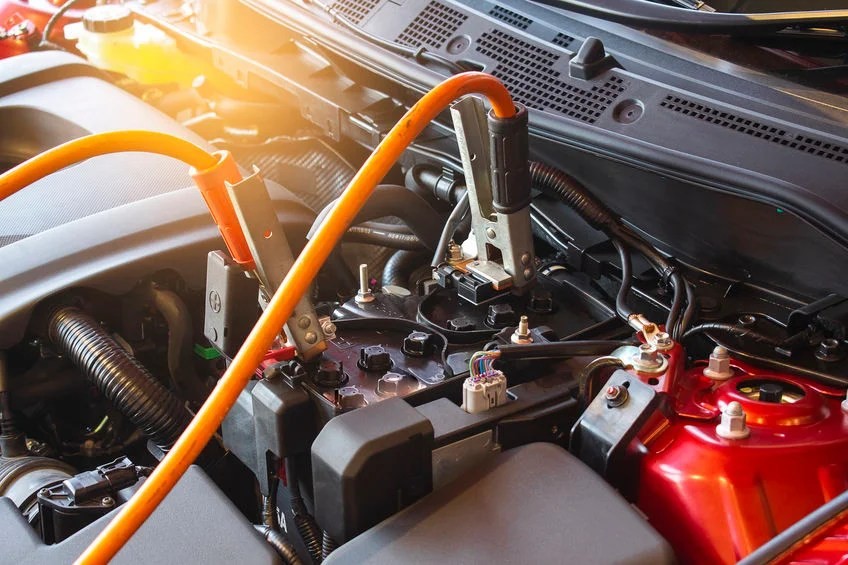
Now it’s time to get the jumping process started. Pop the hood of each vehicle and grab your jumper cables. On each battery, you’ll find two terminals, one positive and one negative. Again, make sure both vehicles are completely turned off. Here’s how you should attach the cables:
- Red clamp to positive (+) terminal on dead battery
- Other red clamp to positive (+) terminal on working battery
- Black clamp to negative (-) terminal on working battery
- Other black clamp to unpainted, metal object on dead car
It’s very important to ensure the 2nd black clamp is not attached to the battery, but rather an unpainted metal object. This is because it’s being used as a grounding connection. If it’s attached to the dead battery, there’s a higher risk of fire, sparks, and/or explosion when the working car starts up. Instead, simply clamp it to a metal part of the car — part of the chassis, a bolt on the engine, etc.
5) Start the Working Car
Once the jumper cables are properly attached, have the working car start their engine and let it run for a minute or two. This will give your dead battery some time to receive a small power boost from the operational car battery.
6) Start the Dead Vehicle
Start the vehicle with the dead battery. Hopefully, the battery will power up and the engine will turn over. If you turn the key and nothing happens, turn it back off completely and let the working car run for 5-10 more minutes and try again.
If nothing happens again, your battery may be beyond help and you’ll need to replace it.
7) Remove Jumper Cables
Once both cars are running, remove the jumper cables in the reverse order from which you applied them. This means you should remove:
- Black cable from grounded metal
- Black cable from working car’s negative terminal
- Red cable from working car’s positive terminal
- Red cable from (previously) dead positive terminal
Once you’ve removed the cables, thank your good Samaritan for their time and drive the car around for a few minutes to let the battery charge a bit. When the car starts after a jumpstart, do not turn it back off or you may need to repeat the process. Nevertheless, once the vehicle is started, you’re safe to pack up and safely hit the road! Consider replacing the battery as soon as possible or you may find yourself needing another jump next time you go to start the car.
You can learn more about driving safety by taking our online courses to benefit from them


